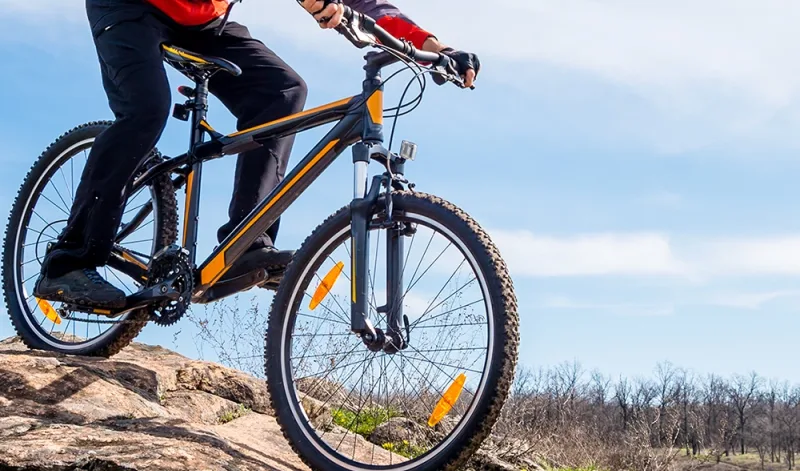
Welcome to our Assetsure guide on how to change a bicycle chain. There are also many other guides online that will show you have to do this, and we would also suggest that you view a few videos on YouTube as sometimes a visual demonstration is far easier that simply reading a script.
To start with you’ll need the right tools, and of course if you don’t have them already, there will be a cost involved to acquire them. Most are easy to source and a company like Halfords usually has a wide range available. Don’t forget to weigh up the cost of buying the tools and a replacement bicycle chain, you may find that a company like Halfords will carry out the whole procedure for you for less tan the cost it will cost to equip yourselves with the tools, and of course, it could be less hassle.
If taking your cycle to a repair shop is too difficult or you prefer to learn and do it yourself, then we hope this step by step guide will help you.
The Tools you will need to change a Bicycle Chain
- New bicycle chain: Make sure you have the correct type and length of chain for your bicycle. Important - Not all makes and models of bike chains fit on all bikes, if in doubt speak to a cycle retailer.
- Chain breaker tool: Used to break the old chain and connect the new one.
- Chain quick-link or chain pin: Some chains come with a quick-link that can be easily connected without a tool. Others require a chain pin to be installed.
Step-by-step process to change a Bicycle Chain
- Prepare your workspace: Ideally this will be dry, and well-lit so as you can easily see what you are doing. Lay down a clean towel, mat, or something similar to protect your bike frame from scratches and accidental denting, if necessary, shift your gears to the smallest chainring and the smallest rear cog.
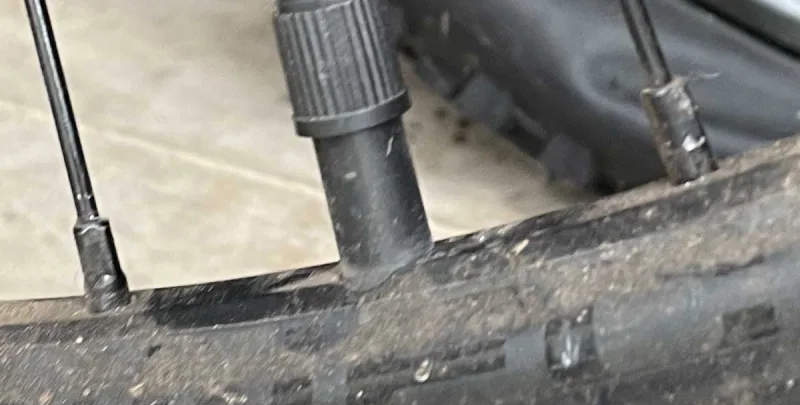
- Remove the old chain: Locate the quick-link or chain pin that holds the chain together. To find the “master” link, look for a link that looks significantly different when viewed from the side. If you have a quick link, use a pair of pliers or your hands to disconnect it. If you have a chain pin, you'll need a chain breaker tool. Insert the chain breaker pin into the tool and align It with one of the chain links. Slowly turn the handle to push the pin out until the chain separates.
- Making sure the chain size is correct: Compare the length of the old chain with the new one. If the new chain is longer, you'll need to remove some links. Thankfully, most chains come with excess length, so you'll likely need to shorten it. Count the number of links on the old chain and use a chain breaker tool to remove the same number of links from the new chain. Be careful to remove links evenly from each side to maintain the proper chain length. Not used a chain breaker before. We suggest you watch a video to show you how to use this tool, there are plenty on YouTube.
- Threading the new chain: Wrap the new chain around the front chainring and rear cassette. Ensure the chain is properly aligned on the chainring teeth and rear derailleur jockey wheels. Leave the chain ends hanging ready to be connected.
- Connect the Bicycle chain: If your chain has a quick-link, simply connect the ends by aligning the quick-link plates and pressing them together until you hear a click. Make sure the quick link is securely locked. If your chain requires a pin, insert one end of the chain onto the chainring and use the chain breaker tool to drive the pin back into the chain until it's flush with the outer plate.
- Always check the chain tension: Lift the rear wheel off the ground and pedal backward to check if the chain moves smoothly through the gears. The chain tension should be optimally neither too tight nor too loose. If necessary, adjust the tension by loosening or tightening the rear derailleur.
- Give your new chain some lubrication: Apply a bicycle-specific chain lubricant to your new chain, ensuring that it covers each link. Wipe off any excess lubricant with a rag to prevent attracting dirt and debris.
That's it. You’re ready to get back on the road or trail. Important- Always remember with Bicycles, it’s safety first. Make sure your chin has been correctly fitted before you set off on any journey. If you are in any doubt, ask an expert to check your work for you.
If you require a quotation for your bicycle, please click here to be taken to our online Bicycle Insurance quote facility, or call us on 0208 0033 190